Why Your Homemade Cookies Are Flat (And The Simple Fixes That Guarantee Perfect, Puffy Results Every Time)
Are you tired of pulling a tray of sad, flat cookies out of the oven, even after carefully following a recipe? I’ve been there more times than I care to admit. For years, my cookies were an exercise in frustration – spread thin, crispy at the edges, and lacking that delightful chewiness or soft puffiness I craved. It felt like a culinary conspiracy; every online recipe promised perfection, yet my batches consistently fell short.
What I realized, after countless experiments and more than a few ruined batches, is that cookie baking isn’t just about ingredients; it’s about technique, temperature, and a few hidden variables most recipes assume you already know. The mistake I see most often, and one I made myself for far too long, is underestimating the impact of these ‘minor’ details. It’s not about finding a magic recipe; it’s about mastering the science behind the bake. What changed everything for me was understanding why cookies spread and then systematically eliminating the culprits.
Key Takeaways
- Ensure your butter is truly softened, not melted, to properly cream with sugar for aeration.
- Chill your cookie dough for at least 30 minutes to prevent premature spreading and enhance flavor.
- Use a kitchen scale for precise ingredient measurements, especially for flour, to avoid dense or flat cookies.
- Overmixing the dough develops gluten, leading to tough, flat cookies; mix just until combined.
- Baking on cool, ungreased parchment paper in a preheated oven is crucial for even heat distribution and structure.
The Butter Paradox: Softened vs. Melted (And Why It Matters So Much)
This is perhaps the most critical, yet most misunderstood, factor in cookie baking. Most recipes call for “softened butter,” but what does that really mean? For years, I’d microwave my butter for a few seconds until it was just starting to melt, thinking that was ‘soft.’ Big mistake.
The pro secret: Softened butter should be pliable enough to leave an indentation when gently pressed, but still firm and cool to the touch. Think room temperature, not warm. Why? Because when you cream softened butter with sugar, you’re not just mixing them; you’re incorporating tiny air pockets into the butter. These air pockets are essential for the cookie’s structure. During baking, these trapped air pockets expand, giving your cookies that desirable puffy lift. If your butter is too warm or even slightly melted, those air pockets can’t form effectively. The result? A greasy dough that spreads too quickly in the oven because it lacks the internal scaffolding to hold its shape.
In my experience, the easiest way to get butter to the perfect temperature is to leave it on the counter for 30-60 minutes before baking. If you’re in a rush, cut the butter into small cubes, and it will soften faster. Resist the microwave unless you’re incredibly careful, as even a few too many seconds can turn it into a spreading culprit.
The Chilling Revelation: Why Cold Dough is Your Best Friend
When I first started baking, the idea of chilling cookie dough felt like an unnecessary delay. Who wants to wait when fresh cookies are calling? But this step, often skipped for convenience, is a game-changer for preventing flat cookies and significantly enhancing their flavor. It’s a non-negotiable step in my kitchen now.
The hidden cost of impatience: When cookie dough goes directly from mixing bowl to hot oven, the butter in the dough heats up rapidly and spreads before the flour and egg proteins have a chance to set. This leads to flat, crispy-edged cookies with no body. Chilling the dough, even for just 30 minutes, solidifies the butter. This means the butter takes longer to melt in the hot oven, allowing the other ingredients to set and create structure before the spreading begins. This slower melt gives the cookies height and chewiness.
Beyond structure, chilling also deepens flavor. The liquid in the dough slowly hydrates the flour, leading to a more tender texture, and the flavors have time to meld and intensify. For extra richness, I sometimes chill my dough overnight. It’s a waiting game, but the reward is undeniable: taller, chewier, more flavorful cookies that hold their shape beautifully.
The Precision Imperative: Weighing Ingredients (Especially Flour)
If you’re still scooping flour directly from the bag with a measuring cup, your flat cookies might just be telling you something. This was another one of my early mistakes. I assumed all measuring cups were equal, and that a cup of flour was always a cup of flour.
The inconvenient truth: A cup of flour can vary wildly in weight depending on how it’s scooped and packed. A loosely spooned cup might be 120 grams, while a tightly packed one could be 160 grams or more. This difference might seem small, but in baking, especially with delicate cookie doughs, it’s monumental. Too much flour leads to dry, crumbly cookies; too little, and you guessed it, flat, greasy ones. Flour provides the structure, and if you don’t have enough, your cookies will collapse.
What actually works: Invest in a digital kitchen scale. It’s a small investment that will revolutionize your baking accuracy. Most online recipes (and many cookbooks) now include gram measurements for this very reason. Weighing flour ensures you have the exact amount needed to build a stable cookie structure. In my experience, this single shift made my cookies consistently perfect, batch after batch. It removes all the guesswork.
The Overmixing Menace: Don’t Develop That Gluten!
It’s tempting to mix cookie dough until it’s perfectly smooth and uniform, but this common habit is another silent killer of puffy cookies. Developing gluten is great for bread, but terrible for cookies.
The mistake most people make: After adding the flour to the wet ingredients, many bakers continue to mix vigorously, either by hand or with a stand mixer, until all lumps disappear. However, the more you mix flour with liquid, the more gluten develops. Gluten, a protein in flour, creates elasticity and chewiness. While desirable in bread, too much gluten in cookies makes them tough and promotes spreading because the elastic strands of gluten pull the dough thin as it bakes.
What changed everything for me: Once I add the dry ingredients to the wet, I mix just until everything is combined and no streaks of dry flour remain. This usually means mixing on low speed for about 30 seconds or gently folding by hand. There might still be a few small lumps, and that’s perfectly fine. Resist the urge to keep mixing! This minimal mixing ensures a tender crumb and prevents the dough from stretching too much, allowing your cookies to retain their desired thickness.
The Baking Surface and Oven Dynamics: Cool Pans, Hot Oven
Finally, even if you’ve mastered butter, chilling, and weighing, your baking surface and oven environment can still sabotage your efforts. I used to think any old baking sheet would do, and that a preheated oven was just about getting to temperature. Turns out, there’s more nuance.
The double whammy: Placing cookie dough on a warm baking sheet causes the butter to melt immediately, leading to instant spreading. Also, if your oven isn’t properly preheated, the cookies bake unevenly, leading to a host of problems, including excessive spreading.
My foolproof system:
- Use parchment paper: Always, always use parchment paper. It provides a non-stick surface, prevents scorching, and most importantly, it’s a cool surface that insulates the dough slightly, giving it time to set. Never grease your baking sheets for cookies, as this only encourages spreading.
- Rotate baking sheets: I have at least two baking sheets for cookies. While one batch bakes, the other is cooling down with fresh dough on it. This ensures I never put dough on a warm sheet.
- Calibrate your oven: Ovens are notoriously inaccurate. Mine runs about 25 degrees F cooler than its setting. An inexpensive oven thermometer is a lifesaver. Bake your cookies at the actual temperature the recipe calls for, not just what your dial says. A consistently hot oven ensures the cookies set quickly before they can spread too much.
- Give them space: Don’t overcrowd the baking sheet. Give each cookie enough room to spread slightly without merging into its neighbors. This allows for even air circulation and baking.
By implementing these simple fixes, my cookies transformed from flat disappointments to perfectly puffed, chewy, and irresistible treats. It’s not magic; it’s just paying attention to the details that truly matter.
Frequently Asked Questions
Q: My cookies are always flat even after chilling the dough. What else could be wrong?
A: Even with chilling, other factors can cause flatness. Double-check your butter temperature – it should be softened but still cool, not melted or greasy. Also, ensure you’re accurately measuring your flour, ideally with a kitchen scale, as too little flour provides insufficient structure. Finally, make sure your baking soda/powder isn’t expired; old leavening agents won’t provide the necessary lift.
Q: Can I use softened butter that’s been in the microwave if I’m careful?
A: While technically possible, microwaving butter makes it very difficult to achieve the ideal ‘softened but still cool’ consistency. Even a few extra seconds can cause it to partially melt, which will hinder proper creaming with sugar and lead to flat cookies. It’s best to soften butter at room temperature if time allows, or cut it into small pieces to speed up the process naturally.
Q: Does the type of baking sheet affect how flat cookies are?
A: Yes, absolutely. Dark-colored baking sheets absorb more heat and can cause the bottoms of cookies to cook and spread faster, potentially leading to flatter results. Lighter-colored, heavy-gauge aluminum baking sheets with parchment paper are generally best for even baking and less spreading. Avoid greasing your sheets; always use parchment paper.
Q: My cookies spread a lot, but they’re also very crumbly. What’s causing this?
A: Excessive spreading often points to too little flour or too-warm butter. Crumbliness, however, usually indicates too much flour or insufficient liquid/fat. If you have both issues, it suggests an imbalance in your dry-to-wet ingredient ratio. Re-evaluate your flour measurement (using a scale) and ensure your butter is correctly softened. Sometimes, a slightly older recipe might need a tiny adjustment in flour if your environment is very dry.
Q: How long is too long to chill cookie dough?
A: For most standard cookie doughs, 30 minutes to 24 hours is ideal. While chilling for up to 72 hours can further deepen flavor, any longer than that can start to dry out the dough or affect the leavening agents’ efficacy, potentially leading to less predictable results. If you need to store it longer, freeze the dough.
Getting perfectly puffy cookies every time isn’t a secret held by professional bakers; it’s a series of careful steps that, once understood, become second nature. By mastering butter temperature, chilling your dough, precisely measuring ingredients, avoiding overmixing, and optimizing your baking environment, you’ll say goodbye to flat cookies for good. Start with one of these tips today, and watch your cookies transform from sad disks to delightful, lofty treats. Happy baking!
Written by Sarah Chen
Home organization and productivity
A former consumer affairs journalist, Sarah has a knack for dissecting complex topics into digestible, actionable steps.
You Might Also Like
Why Your Homemade Bread is Dry and Crumbly (And The Simple Shifts That Guarantee a Light, Airy Loaf Every Time)
Stop making dry, crumbly homemade bread. Learn the simple shifts in technique and ingredients that guarantee a light, airy loaf every time.
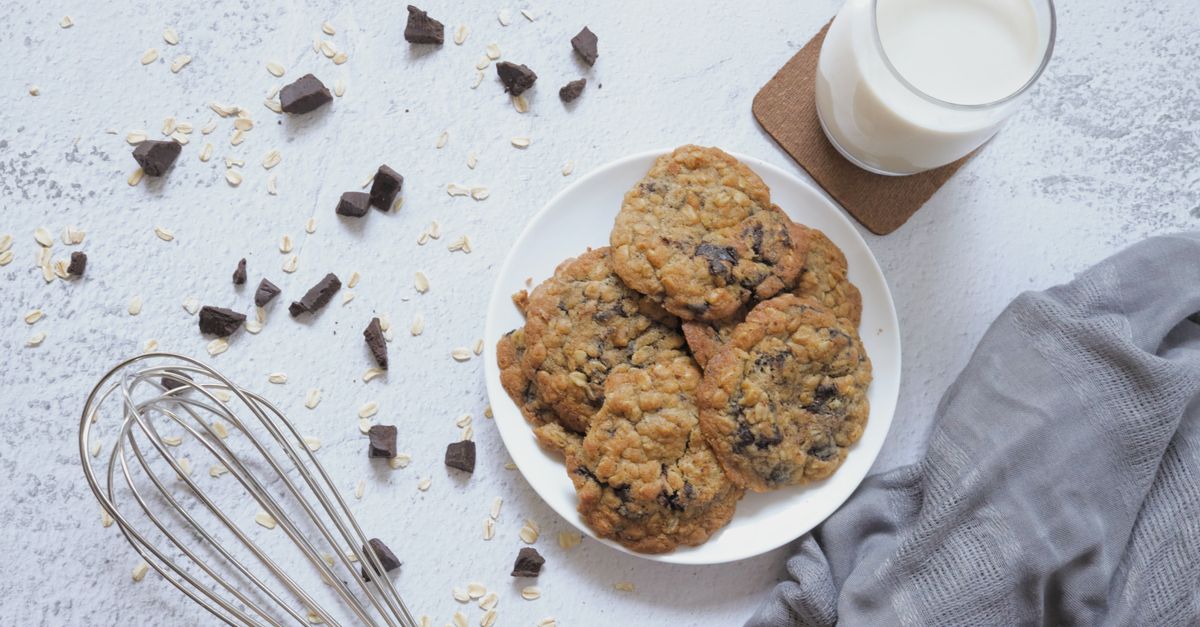
Why Your Homemade Cookies Are Flat (And The Simple Fixes That Guarantee Perfect, Puffy Results Every Time)
Tired of flat, crispy cookies? Discover the crucial baking mistakes that cause spread and learn the simple fixes for perfect, puffy cookies every time.

Why Your Home Still Feels Stuffy (Even After Cleaning) — And What Actually Works for Real Freshness
Discover the hidden culprits making your home feel stuffy even after cleaning. Learn practical solutions for lasting freshness and better indoor air quality.